Over the last couple of weeks, I’ve been breaking down some of my favourite ways to differentiate in your classroom.
I don’t mean to brag (or out myself as a mega-nerd), but differentiation is one of the major passions in my life. Not only am I passionate about the fact that everyone should be doing it – I also get a thrill of thinking up new and innovative ways to mix up lessons and my classroom to suit various needs.
I’ve broken down differentiating into content, learning environment, product, and process and written a separate blog post on each of them, delving deeper into what each entails.
This post is going to round everything up into one place for quick and easy access and to offer up some great ideas for all my fellow educators out there!
Without further ado, here’s a mega list of great ways to differentiate in your classroom:

Know your students
Obviously, the best way to serve your students is to understand who they are and exactly what area(s) they need to improve in. For example, a student who is learning English will need to focus on building vocabulary, while a gifted student will need coursework that is enriched or even accelerated.
Make sure that you build relationships with your students, read their files, talk with their parents, and utilize pre-teaching assessments to figure out exactly what they need from you.
I have no tolerance for teachers who claim they refuse to read student files because they want to “build their own perception” of a child. This isn’t best practice; it’s lazy. Not only does it assume and imply that previous teachers were not doing their jobs and did not fully understand the student, it’s a flagrant neglect of an important part of our jobs.
Don’t be that person – read about your students, trust that your teaching peers are professionals, and build upon what did or did not work for students in previous years.

Make sure you give kids work at their instructional level
Now this may seem super obvious and implied, but it’s shocking how often teachers give students work they just aren’t able to do. Our kids need work that’s challenging enough to keep them engaged and simple enough for them to be able to complete it.
Of course, sometimes we can’t always provide work at students’ level. Maybe this is because parents refuse work at a different level or certain some district policies. However, whenever and wherever possible, students need to be given work which is demanding, but that they can actually do.
There’s no point in handing a student who is reading at a kindergarten level a grade 5 book – they’re just going to stare at it and feel bad about themselves. Giving appropriate work will ensure our kids are working on the building blocks required for more challenging work.
Teach to every ability level in your whole-class lessons
This can be challenging and difficult with the short time-frame we have to “cover curriculum” as teachers, but it can be done. In fact, you can easily disguise this as review. What may be review for the majority of students will actually be extremely helpful for those three or four who are a year or two (often more, unfortunately) behind.
For example, if you are teaching math and working on addition, start where the lowest student(s) are working when you lecture or demonstrate to the class. Ask the whole class to start with something like 1×3, show how to solve it on the board, then slowly move up to grade-level curriculum.
This practice ensures the lowest students are included and (hopefully) engaged without being singled out, and the higher students think you are simply reviewing past work. Then, when the kids move to doing on their assignments for the period, that’s when you give them the work at their individual levels.

Take advantage of online resources
One of the best parts of online resources and sites is that, generally, students are focused on their own screens and don’t notice what their peers are working on. Also, several online sites look the same, no matter what curriculum the students are actually working on.
For example, kids working on Mathletics can’t tell that the student next to them may have a different assignment. We can also easily assign various things to kids on Google Classroom without anyone else knowing. This is fantastic for kids who don’t want to stand out as different. Often they won’t even realize themselves that their work is different than their peers.
Of course, we don’t want kids to always be working online, but when they do, it’s great to have go-to websites in which you can assign different students different work based on their ability levels.

Use centres
Most teachers stop utilizing centres past third grade, but I’ve used them well into junior high with great success (I definitely read that with a Borat accent, though I didn’t initially intend it that way).
I haven’t personally used them in high school, but I’m sure they’d still work great with the proper planning and execution.
The best part about centres is that you can easily target specific skills and content with specific kids without making it obvious. As long as you continually rotate the groupings so kids don’t associate certain kids with being “stronger” or “weaker”, then students never need to know what their peers are struggling with.
Centres are an obvious choice for things like reading, writing, and math, but they also work great in subjects like science and social studies. You can have groups of students working on things like vocabulary, questions, research, reading tasks, and so on, while you work with students on specific skills or concepts you know they need more support with.
Create various student groupings
When you break students into groups to do their assigned work, make sure you don’t always put the same students together. Of course, there are times when all of your English language leaners may be working on learning the same vocabulary words. Just ensure they aren’t always together.
There are many different assignments and tasks in which certain skill sets are needed and student groupings can be varied. Sometimes students will needs to be working on the same material as their peers, other times, they will benefit from working in a group with varying skill levels from whom they can learn from.
Make sure you mix up how you’re grouping students consistently to ensure they’re learning new things and working with different personality types.

Emphasize and embrace differences
It’s really important that student differences are not only accepted but embraced. At any and every inkling of students trying to comment negatively about being “weird” or “different”, don’t only shut it down, but talk about it.
Discuss how great it is that everyone is different, learn about differences among students, cultures, and so on. Plan lessons, projects, and assignments which celebrate and acknowledge how different people are.
This ongoing openness and celebration around differences help make students feel special and included instead of weird or out-of-place. It makes our classrooms feel safe and welcoming, which every student benefits from!
Time block your periods
It’s really important that, when you’re teaching, you’re making sure that you aren’t spending entire periods doing just one activity or task.
For example, don’t spend a whole class lecturing, having students copy notes, or working on an assignment with no check-ins. This can be incredibly difficult, especially in content heavy courses where teachers feel the need to “get through” a huge amount of curriculum. But avoid it whenever possible!
Not only do the majority of your students not have the capacity to be interested in one activity for an entire period, you also need to give them various “breaks” in which to reflect upon and understand the content they’ve been presented with.
For example, if you’re teaching writing paragraphs, you may start a class with a mini lesson on how to write an effective opening sentence. Give some examples, have a discussion, and involve the class during your mini lesson.
Then, in order to have them reflect upon what they’ve learned, you could have them write their own introduction sentences.
After this, bring the whole class back for another group discussion. Ask them how they did, get some student examples, and give some feedback. Talk to the group about ways to improve these sentences and how to provide feedback, then break them into groups of two or three to peer edit their sentences.
This is just a quick example, but as you can see, each of these steps would only take about 15 minutes tops, but the students have plenty of time and opportunity to take the information you’ve provided them with and apply it, then check in again as a class, and with groups.
Time-chucking classes into mini-lessons and meaningful activities not only keeps our students from getting bored, it also provides them plenty of opportunity to intake information and improve their own skills.

Provide students with lots of variety
Even if you are time-blocking your classes and ensuring students have time to learn and then time to reflect on what they’ve learned, you’re going to leave a whole bunch of kids behind if you use the same style of lessons and activities each day.
People all learn in different ways, and we have to provide our students with different ways in which to process the and understand what we’re teaching them.
If your go-to activity for students to complete is always writing a paragraph, you’re not giving students who struggle with writing a chance to learn the information properly. They’re going to focus on the writing instead of the content and feel like a failure.
Instead, provide a plethora of different ways kids can engage with the content. This doesn’t only provide ample ways for students who learn in different ways to access the content, it also exposes students to activities which may trigger other knowledge or understandings they have in which they can “hook” new content onto.
My next few points are going to cover some of my favourite ways to differentiate process so you can ensure you’re using tons of variety in your class.

Use Bloom’s Taxonomy to plan
Yes, I will acknowledge that there is some controversy around Bloom’s Taxonomy and how it is used. But, for the most part, it’s an easy to use jumping off point for planning for different ability levels in your classes.
If you’re unfamiliar with Bloom’s Taxonomy, it’s basically a framework which breaks down the stages of learning into six categories: knowledge, comprehension, application, analysis, synthesis, and evaluation. It’s a great way for teachers to plan for their students.
There are a ton of great resources online which can help you use Bloom’s to plan. A bunch of these will pops up when you type “Bloom’s Taxonomy” into a Google image search.
When I plan assignments, questions, or centres for my class, I think about all the different kids’ needs and abilities and base what I have them do upon the Bloom’s hierarchy. This is great for tiering your activities for different students and creating lessons which act as building blocks for students.

Gallery walks
Gallery walks are great fun! Not only do they get kids moving around, they also allow for students to see how their peers have made sense of information.
If you aren’t familiar with gallery walks, they basically have students put their work up around the room (you can do this anonymously). Then, all the kids walk around with sticky-notes to make comments on their peers’ work. You can plan this however you like, so you can have students only write what they love about their classmates’ work, things they still have questions about, feedback, and so on.
You can do gallery walks with individual work, partner work, or group work – it’s great for all of them. I even do these as a teacher in professional development opportunities, and my favourite part is seeing other people’s perspectives. It always makes me think of things I hadn’t before, helping me to better process the information we’re working on.

Think-pair-share
Doing think-pair-share is excellent for having students work through their ideas independently and then bounce them off of their peers. It’s excellent for students who learn best orally and with others.
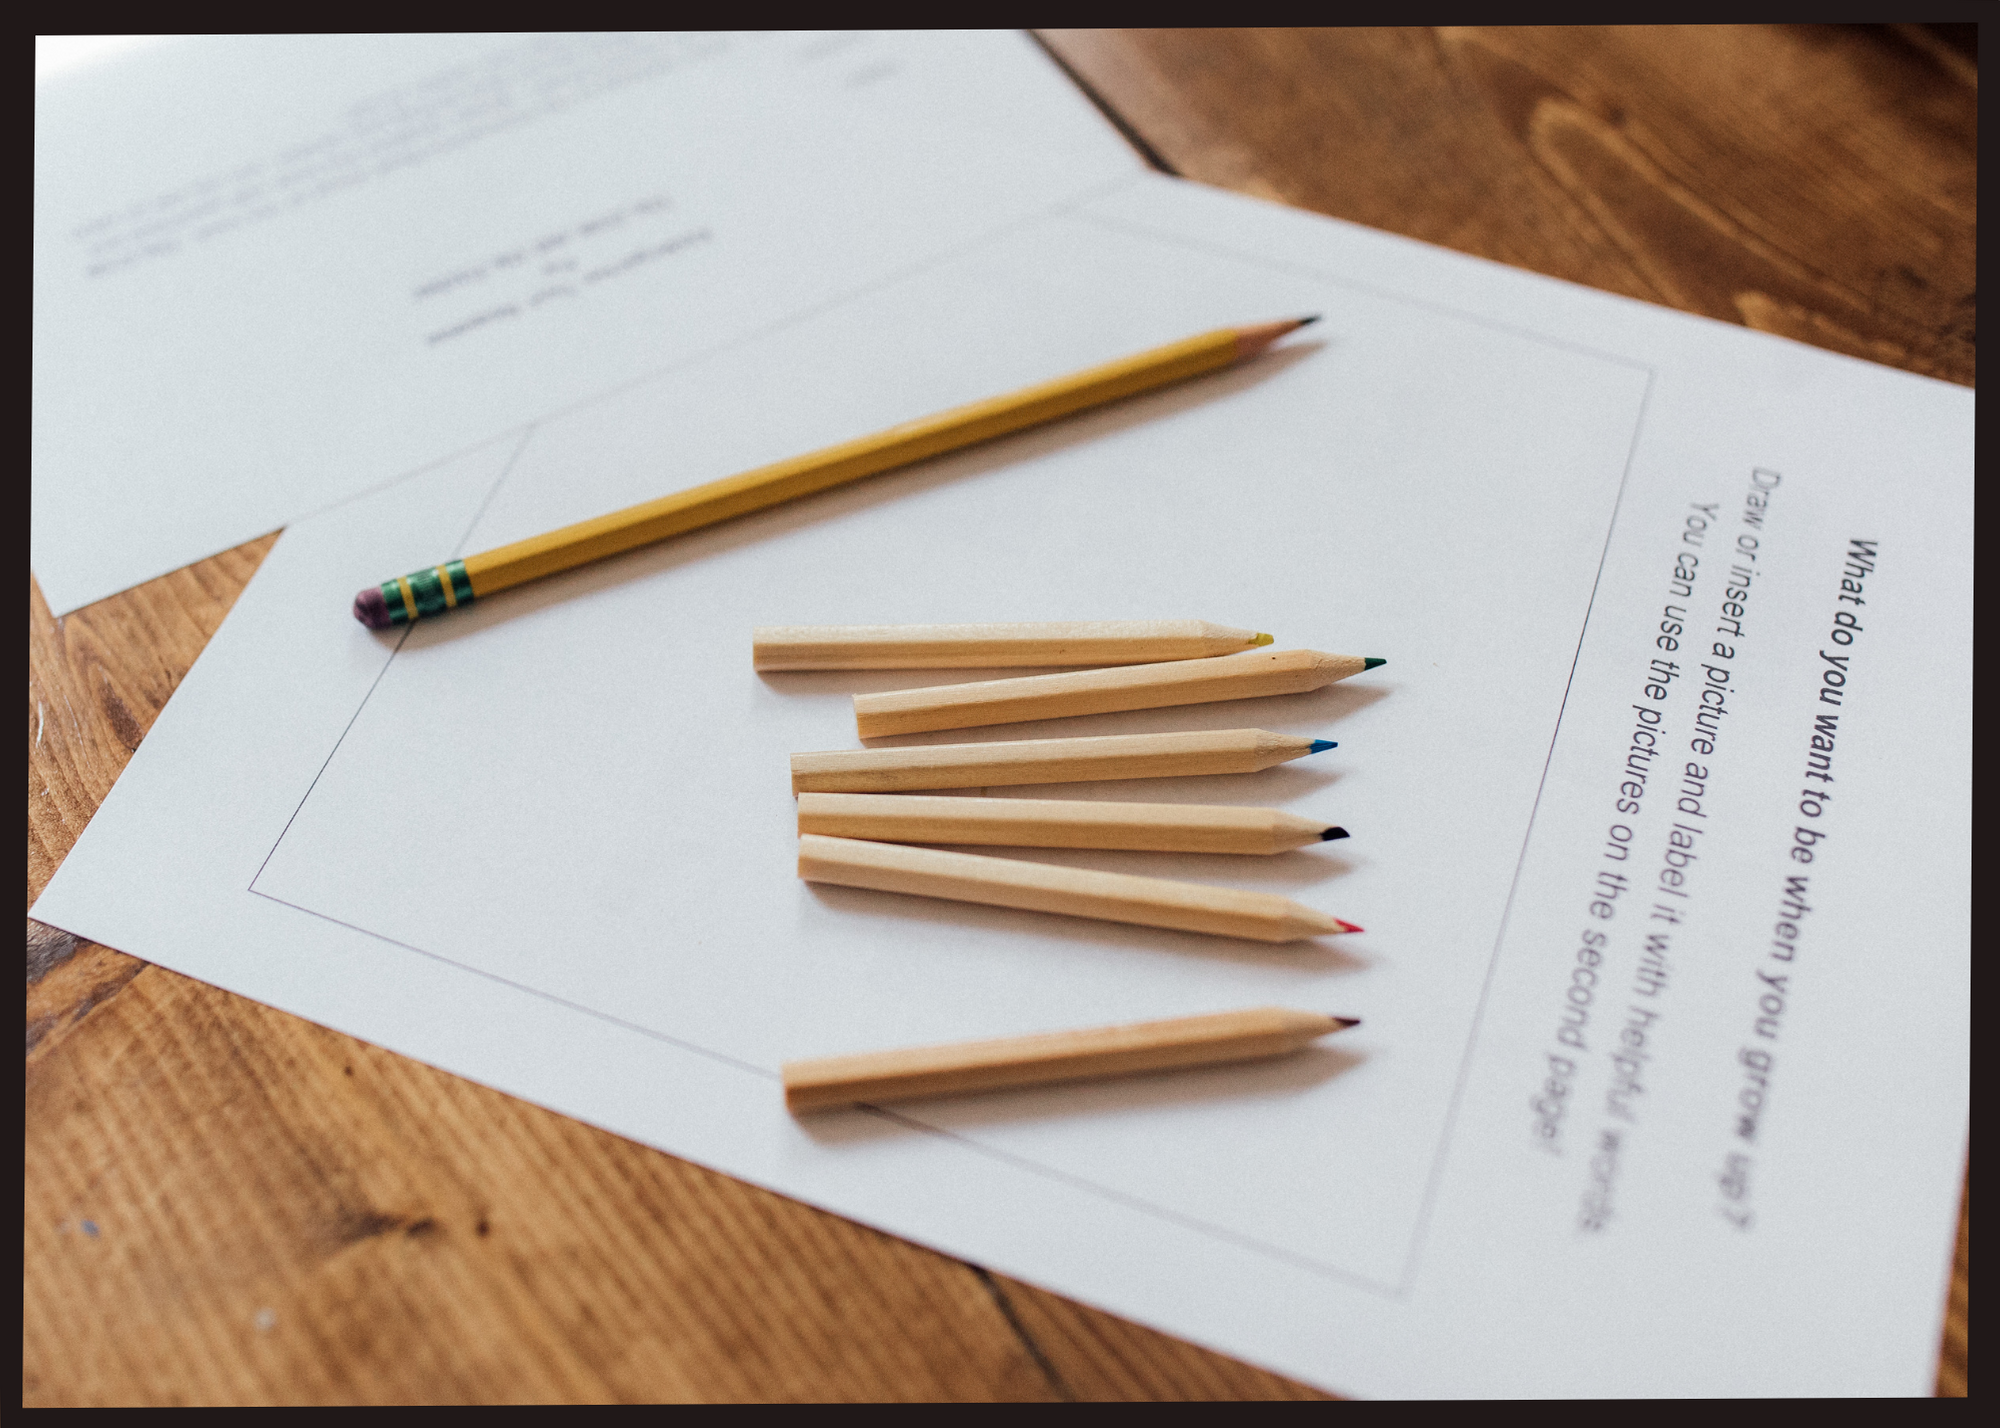
In think-pair-share, students are given time to sort through their own ideas independently. You can literally just have them “think”, or you can have them produce something – such as a short paragraph, a few words, a picture, and so on.
Then, students discuss what they’ve learned and/or produced with a partner. This allows for students not only to discuss, but also to teach and to learn. Both are excellent for retaining information.
Finally, partners share what they’ve discussed or produced with the class. This provides accountability and allows for students to hear the entire class’s thoughts on the content.
Allow use of manipulatives or other learning tools
Give students what they need in order to find success. Of course, we don’t just want to provide students with manipulatives and tools which allow them to coast and not really have to work, but we need to give them what they need in order to access the curriculum to the best of their abilities.
Manipulatives and tools include things like base ten blocks, a calculator, a visual dictionary, a home language dictionary, a translator, use of assistive technology, and so on.
If an old school teacher or a student decides to throw “fairness” in your face, remind them that fair does not mean equal. If someone needs glasses in order to read, we let them wear glasses; that’s just another example of a learning tool that some people need but others do not.

daily journaling and/or writing
Give students time to write, or draw, or use speech-to-text every day to understand their thoughts and what they’ve learned. This daily practice allows them to better understand their own learning (metacognition) and to look back to see how far they’ve grown.
Gaining metacognition skills are fantastic for students to best understand how they learn. This way they build self-advocacy skills and they know what they require in order to find academic success. This is a skill that will take them well into post-secondary schooling and beyond.
Looking back and seeing how far they’ve grown is a fantastic self-confidence booster! Not only will students realize they’ve grown so much, they’ll also begin to develop a growth mindset. Seeing that the more we work at something, the better we get is a fantastic skill to improve upon!
Jigsaw
I love using the jigsaw method when teaching because it’s a fun way for students to learn the information they need and to become instructors themselves. Of course, teaching information to others is one of the best ways to retain content.
If you haven’t used the jigsaw method in your class yet, you’re really missing out! In this activity, students are broken into groups to learn about one specific topic within that group.
For example, one group may learn about the life cycle of frogs, another will focus on frogs’ predators, another on frogs’ diet, another on habitat, and a last one on frogs’ adaptations. The initial group will work together with the resources you’ve provided to learn all about their topic, each one writing notes and learning it extremely well.
Then, you’ll mix up the students so that in each of the new groups there is one person from each of the initial groups. So, each new group has one member who learned about life cycles, another who learned about predators, one from diet, one from habitat, and one from adaptations. Then, they’re each responsible for teaching the rest of the members of the group all about the information they’re the expert on.
This is great for having kids use collaborative skills, research skills, build writing ability, and learn how to teach information. You can also go over all of the groups at the very end of the activity to ensure any “holes” in information are filled in and all students have the important content they need.

Graphic organizers
Of course, graphic organizers are a go-to for all educators! They are a great way for students to organize information, plan work, and ensure they’re not missing anything.
Additionally, there are so many different fantastic organizers for so many things that they work for basically any subject and any grade.
Students can work on graphic organizers individually, in small groups, or you can complete them as a class. They can write or draw their answers. They can even complete them online and use like speech-to-text. The possibilities are endless!

Literature circles
I personally like literature circles for quite a number of reasons. First of all, it’s a great way to differentiate content itself – giving different novels to different groups depending on ability level and interest.
When it comes to process, literature circles are great because you can assign different tasks to different students, or have them work on one particular area as a group together. You can base specific activities not only around the different books, but also which students are in each group and the skills they need support with.
Also, in general, when students are in smaller groups, they have more of an opportunity to engage. This can be more of a challenge when completing a novel study as a whole class.

Use a variety of oral, visual, and written resources
When giving students resources to use to help them with their learning, make sure you utilize a variety of different texts. Don’t always rely on the textbook, as many students have difficulty understanding written information, or become bored with textbooks.
Instead, rotate in lots of different texts. Use videos, podcasts, comics or graphic novels, plays, novels, picture books, and so on.
Use these varied texts with direct teaching and also have them in the classroom for students to access. Use them as part of different centres or activities.
Ensure that it is well-known within your class that these are all different, but that none are superior or inferior. A picture book can help a student understand content just as well as a textbook can, depending on things like background knowledge, how that student learns, how you’ve taught the content, and so on.
Make sure your kiddos have lots to choose from so that they can utilize multiple resources to best process content.

Individual student agendas
Sometimes, one of the best ways for students to process information, and to build independent skills, is to provide them with a “Student Agenda”. These are basically individual checklists, designed for each student, letting them know what they should complete.
Student agendas are great because you can design them for each student. If you have older or more mature students, you can also build them around the outcome rather than the task.
For example, you could assign them “know chapter two vocabulary”, rather than “complete a frayer model for each of these vocabulary words”; trusting them to pick their own method in order to complete the final outcome.
Of course, the worst part of these agendas is the amount of work it takes teachers to create them for each student. However, many of your students will be working on the same or similar things, so it doesn’t end up being as time consuming as it seems to be. I like using individual student agendas for “work periods” because it holds each student accountable, provides specific tasks for them to complete, and helps build their independent work skills.

Task cards
Task cards are a great way to differentiate process in your class. These are great because you can use various task cards geared toward different ability levels and utilizing different ways to process information.
If you can’t find any that work for your specific class online, try using Bloom’s Taxonomy to create some which work for you. These are great to use during centres, in small groups, individually, with strategic partners, on “student agendas” and so on.
Be clear with what you are assessing And Why
Make sure that you are extremely clear with students about what you are assessing and why it’s important. Talk about the difference between formative and summative assessment and why they’re both important. Be extremely clear about which outcomes you are marking when you do grade work.
Students need to know exactly what it is that they are supposed to know and/or be able to do. Not only is this fair and transparent assessment practice, it also makes students more connected to their learning and the learning process.
Your formative assessments and the product students are completing needs to directly show the content you’ve asked students to know – and students need to know what this is!
For example, if the outcome you are asking students to demonstrate is an understanding of photosynthesis, you have to tell them that you want them to show/tell you exactly what photosynthesis is, and the assessment you’re asking them to complete needs to directly evaluate their knowledge of photosynthesis.
Vary your assessments
Don’t be that teacher that uses the exact same form of assessment for everything! As I mentioned above, using the same form of assessment will only benefit some students and will only test some skills. Not only that, it’s incredibly boring!
There are so many different ways you can assess student understanding! Differentiating process and product are some of the most fun ways to differentiate because they allow us to be so creative!
Here are just a few of my favourite ways to assess students (I’m not including the usual tests and essays):
- Write and perform a play
- Make a commercial
- Create social media content (such as Instagram posts or TikTok videos)
- Write a blog post
- Complete a graphic organizer
- Make a mind map
- Create a presentation
- Create a tri-fold (like in a Science fair)
- Write a radio advertisement
- Create a podcast
- Make a board game
- Design a cereal box
- Design a book jacket
- Make a WANTED posted
- Make a newspaper complete with articles and photos
- Teach someone else the material (you can record or watch this as the teacher if need be)
- Write a picture/children’s book
- Make a graphic novel
- Make an interpretive dance (yes, this one works if kids can properly explain their reasoning and it’s hilarious)
- Write a brochure
- Create an infographic
- Create an art project, like a painting or a sculpture – this works in way more classes than just Art
- Create a business and a product
- Make memes
- Write a jingle or a song (I’ve had students rap about the Canadian Charter of Rights and Freedoms, it was truly amazing)
- Create a collage
- AND SO MANY MORE – this list is legit never ending!
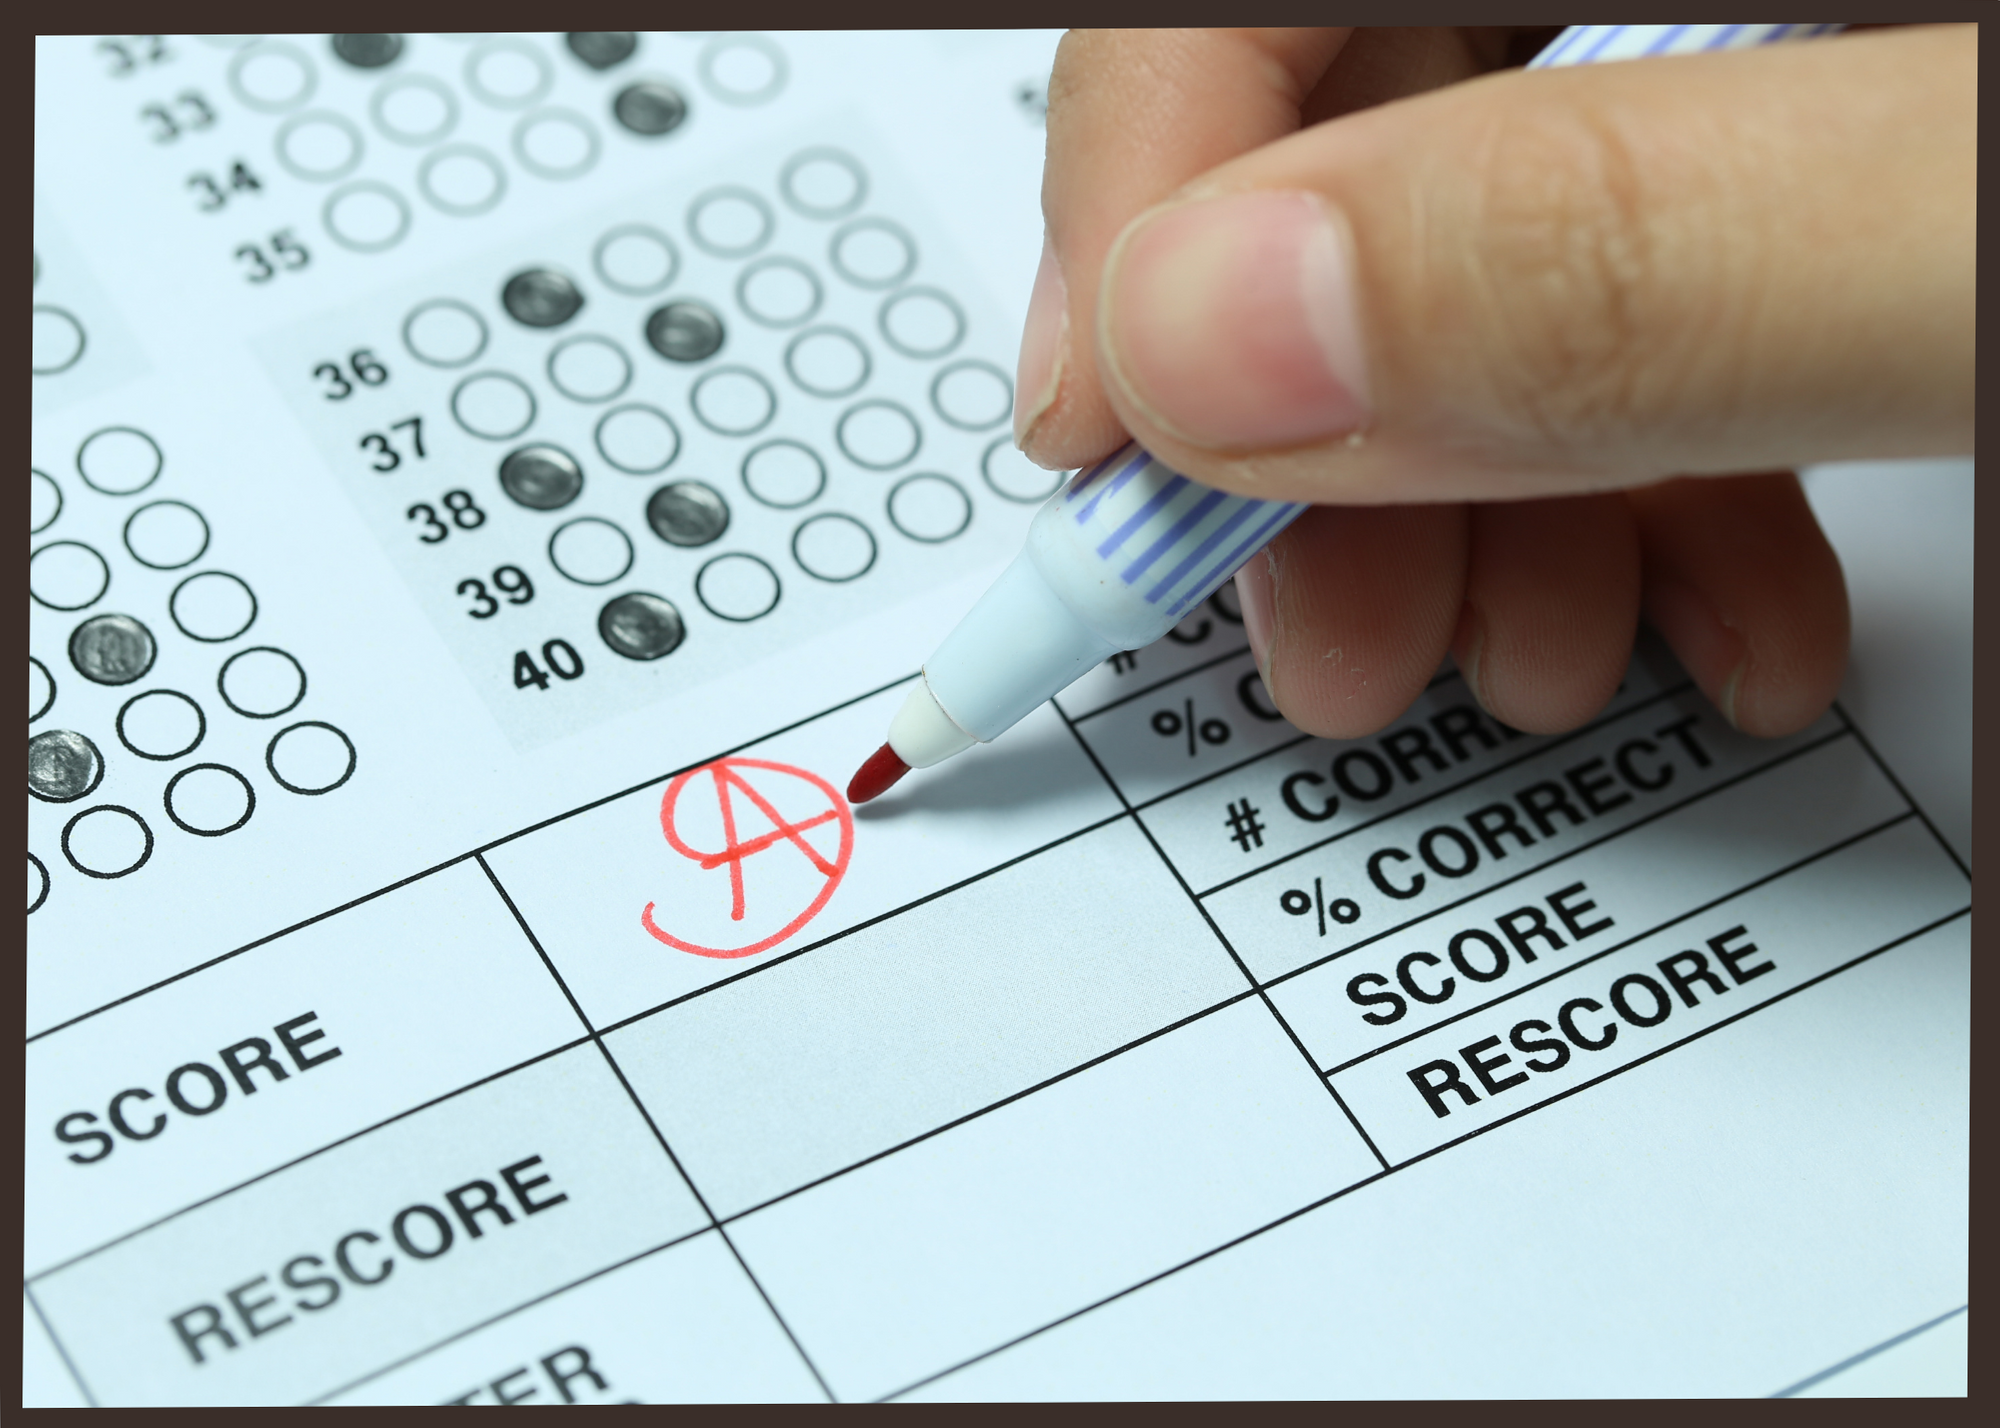
Don’t rely solely on tests
Obviously, I’m not a huge fan of tests. Now, that being said, I definitely give students tests.
Testing is a form of assessment which is really useful for demonstrating some skills and which many students like and are good at. Not only that but, unfortunately, test-taking is a skill which students do need in order to pass high school and succeed in post-secondary schooling, if that’s the choice they make.
What I don’t like is when testing is the only form of assessment used.
Pen to paper tests don’t assess so many skills and knowledge needed in the “real world” (also a term I hate to use – students are already living in the “real world” and are “real” people). We need to build up communication, reasoning, logic, collaboration, inferencing, and questioning skills. Not to mention way too many more to name.
So, make sure you’re utilizing a variety of assessment methods, like some tests mixed with options from the list above.
When you do give pen to paper tests, make sure you utilize a variety of different types of questions. Multiple choice is certainly the easiest to grade, but it’s important to throw in short and long answer, matching, fill-in-the-blank, and so on.
Give students the opportunity to answer a variety of questions as some will be better at certain question types than others.

give your students choice
One of the best and easiest things for you to do as a teacher in differentiating product is to give students a choice of how to demonstrate their knowledge.
I personally love choice boards. They provide a plethora of options for the kids, and you’ve designed the options, so you know they all assess the content.
Choice boards are great to use at the end of a unit or focus. For example, at the end of a Science unit or a novel study, you can have the students pick an idea from a choice board that will demonstrate all the content you are looking for.
You can also use choice boards throughout the year. For example, if you teach Art, you may have your students work in their sketchbooks during times when they’re finished a project early – have them choose assignments from a choice board and state that by the end of the year, each student has to have a certain number completed.
There are, of course, other ways to use choice as well. Let students choose between answering two different questions, or pick between three or four assignments, and so on.
When kids are given choice, they are able to pick what works best for them and will take more ownership in their learning and schooling.

go through rubrics with students
When you create a rubric for an assignment, it is vital that students know what everything on the rubric means and what you are looking for.
Give them examples of low, average, and high work, and discuss these as a class.
Even better – create the rubric for an assignment with your class! Our students are smart, ask them what should be done well and graded on their assignment, and they’ll tell you. Don’t be worried about this, you can always help guide the students toward including anything they may have missed.

Utilize a single point rubric
I prefer to use a single-point versus a multi-point rubric for two major reasons.
The first is that it allows for more teacher choice and reasoning. Sometimes we want such an intense and failsafe rubric that we completely take out any professional judgement from our assessment. We are educated professionals who know when work is good and when it is not.
Sometimes multi-point rubrics are so specific that they don’t allow for any creativity or leeway.
For example, a lot of art rubrics I used to create would say “no white spaces”. If a student drew me a beautiful black and white sketch, they should technically be getting a lower grade, just because of the wording on the rubric. Someone who madly (and badly) coloured in every inch would be getting a higher grade just by default.
Instead, I just have the criteria I’m looking for in the centre of the rubric, then what needs to be improved on one side and what was done well on the other. Then, I give the final grade (using my professional judgement) at the bottom.
The other reason I like single point rubrics coincides with the ability for more creativity I mentioned above.
I like when students are able to have a little more flexibility in showing me their knowledge. When a rubric is too specific, all that creativity is lost.
Furthermore, when I use a single point rubric, I can specifically tailor it to each student and what their strengths and weaknesses are. Each student has the same rubric, but the comments for each criteria can be much more directed toward the student when I am completing the grading, which I like. It allows me to grade a little more personably than with a multi-point rubric.

allow students to work independently or in groups
Some students work well individually, while others thrive in collaborative groupings. It’s important that they have a mix of these scenarios when working on their product.
Of course, we can’t always allow them to choose independent or collaborative work – then they won’t gain skills in the area they like less.
Mix up group, independent, or student choice work when you can to ensure they have practice with each.

let students propose their own product ideas
Allowing students to pick how they show you their knowledge and/or skills is a fantastic (and easy) way to differentiate product.
If you’ve given them some different options, but they have another idea that they would prefer, ask them about it. As long as the end result will clearly hit all the outcomes (and is appropriate, of course), let them do it!
Students always have so many interesting and creative ideas which I love to see. I think I’m pretty creative until I hear some of the awesome ideas they have!
They’ll have more fun and enjoy school and the content more if they get some say in the matter!

Discuss different ways to work with your kids
Talk to your students about what type of learner they are. We are all different and prefer different things in order to succeed. None of these are “right” or “wrong”.
For example, I am someone who needs music or the television on in order to complete my work. I think this stems from childhood, when I wanted to make studying and completing homework fun, so I did it while doing something I considered “fun”.
Now, I need noise to concentrate, otherwise I start getting anxious and every little sound (like my stomach grumbling or a car driving by) will distract me and cause me to completely pause what I’m doing to start something else.
I am well aware, however, that I am not the majority. Most students I ask prefer a quiet room to work.
I talk about these kinds of differences with students all the time and ask them what sorts of things help them learn.
Many students like to chew gum, or sit on the floor, or play with fidget tools. These are all fine by me, as long as they’re being responsible and staying on task.

in general, keep the classroom quiet
As I noted above, some people prefer to have background noise in order to work, but many more need a quiet setting.
I am very strict about having a quiet room with my students, and I make it very clear why. I always want to ensure everyone is being respectful of one another, and a quiet room is respectful for those who cannot concentrate when there is noise around.
If you’re still mastering classroom management, something like a Yakker Trakker is great for monitoring noise. Or, you can get online noise trackers like these bouncing balls.
I also use our class rewards system (I use ClassDojo) with our quiet work, so when the class is too noisy they loose a point, and when they work great, they gain a point.
For those students who like background noise, I am more than okay with them listening to music or a podcast while they work. This is what I do, after all.

create different work centres
This can be hard to do as class sizes get larger and schools don’t expand to fit all the kiddos. Wherever you can, try to set up various centres in your classroom where kids can work in different spaces and/or know what tools will be available to them in certain spaces.
You can even plan some of these with your class. I had a class one year who wanted to create a “focus corner” behind our jacket cubbies. This seemed like a weird time-out/cave area to me, but they loved it and would use it if they wanted a quiet space to work alone.
In my classroom, I always like to have a cozy reading corner where kids can read or work, a “calm down corner”, a quiet work cubby, some various tables for group work, and at least one standing desk.
Additionally, I also set up our “tech corner”, a learning tools cupboard, and a section of that class with all our school supplies, so that students can access these with ease.
I always want students to feel like full participants in the classroom, so they have access to basically everywhere and everything (with the exception of my desk).

use alternative seating
Not all students thrive sitting in a desk all day. Not a surprise, I know. I give students the example of myself, I love a huge, empty table where I can spread everything out. I also like a hard, wooden chair (bonkers, I know).
I always ask the kids how they like to work, and I get a ton of different answers. Some like to lay across the floor, others like to stand, many like to be moving around, some like sitting on cushions, and so on.
In my own classroom, I have lots of cushions on the floor in our reading corner, plenty of hokki stools, disco sits, an egg chair, standing desks, tables, and, of course, student desks. I would love to also get a couch, but we don’t have the room right now, maybe one day.
I love giving students plenty of options. When I am talking to the class, I expect them to be sitting in their desks, or at a standing desk, but when it’s time for them to complete work, they can choose what works best for them.

allow students to work in various areas in the school
Whenever you can, let students work in various areas in the school. Even in a quiet, well-managed room, students may still dislike being around others during some activities.
For example, many students don’t like to use speech-to-text in front of others and prefer to do it elsewhere.
I will allow students to work just outside the room in the hallway, or in any other room where there’s supervision. The library always works well, a resource room, or an empty classroom if there’s an adult to accompany them.

Have routines (And Lots of Them)
Spoiler alert: rolling into the classroom and just flying by the seat of your pants is going to cause a lot of students a lot of anxiety.
Even students who don’t really need a routine or schedule, still benefit from one.
Have a visual schedule at the front of the room and go through it with kids. Check things off as you go through them through the day.
Additionally, make sure your students know the basic routines you use for daily activities. They should know how to line up, how to transition between tasks, your expectations during things like centres, independent work, and so on.
When something out of the ordinary comes up, like a field trip, be exceptionally clear with your expectations. In fact, be stricter than you think is necessary to avoid any issues.
I don’t ever want to have to get upset or have to discipline a student, especially during a fun activity like a field trip. So, I make my expectations apparent beforehand and ensure we have extremely clear structures in place (from where they put their lunch bags, to how to sit on the bus, to how to hold their water bottles).

make the classroom functional
Your classroom should be full of everything (that you have access to) students need to find success, and they should be able to use these when necessary.
It’s ideal to have an area in your classroom where students can access physical tools such as fidgets, lap lizards, disco sits, and so on so that they can grab these when necessary.
Making learning tools accessible all the time allows for all students to try them out (the first week or so may have you instilling rules around who gets to use things first) and then use the things that work best for them. Some students won’t need anything, and others may require several.
Having tools out all the time also take the stigma away of a teacher bringing them something to use – they may feel different and not use it, even if it would help.
Additionally, it’s great to label things as well as post pictures. I have a label on all of our school supplies bins which has both the word and an image, so all students know what is inside.
I also post pictures of how our tables, bookshelves, and so on should look when they are organized. This way, students can put things away and just reference the picture to ensure everything is neat, tidy, and functional. This is great for building their independent skills. It’s also been great for me as I no longer find myself having to tidy up after the kids at the end of the day.

And there you have it, folks! My ginormous list of differentiation tactics! Did I miss anything? Do you use any of these? Let me know in the comments below!
Enjoyed this? Here are some other blog posts on Katie is a Teacher you may like:


Want even more? Here are some Katie is a Teacher resources you may be interested in:


1 thought on “Mega List of How to Differentiate EVERYTHING in Your Classroom”